I'm discovering right at this moment that there are sometimes two ways of doing things. Did you know that instead of using the backspace key when you make a typing error you can also use the delete key? It takes a little more effort but it works just as well. Why would I want to do it that way? Well I don't really WANT to. It's more out of necessity. Apparently my keyboard did not appreciate the cup of coffee that I gave it this morning and now it's getting it's revenge on me. Every time I hit the backspace key I get a number five. I can't even type that number because instead it shows as b5. It's also playing funny games with the control key as well as a few of the other numbers. Thankfully, I can still use most of the keys to type. A trip to the electronics department at Walmart may be in order.
The last few days I've been playing around with Dazzling Reflections quite a bit. Every now and then they offer a free template to go with the program. Just the other day I got their free tulip template and made this.
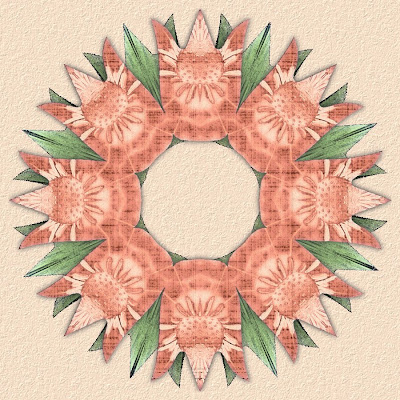
Then using the kaleidoscope I made this layout.
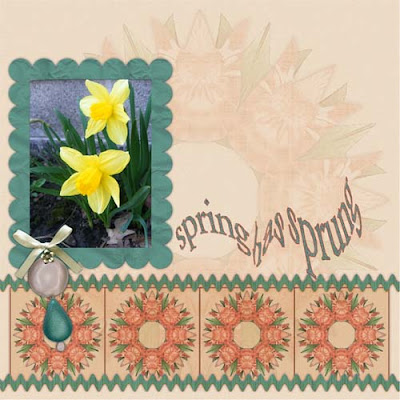
and then this one. So tell me what you think of the zipper effect that I did? I really hope you like it because I'm offering it as a freebie today. Along with the freebie there is also a tutorial to show you how I made this layout.
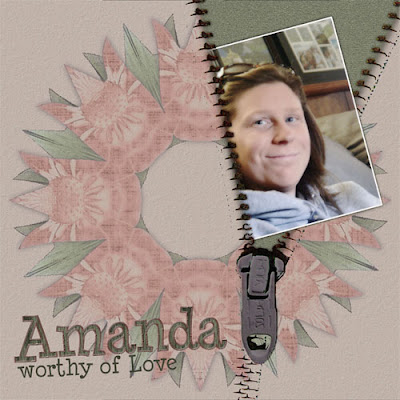
So here is what you get. This is just the template that I made and used to do the layout.
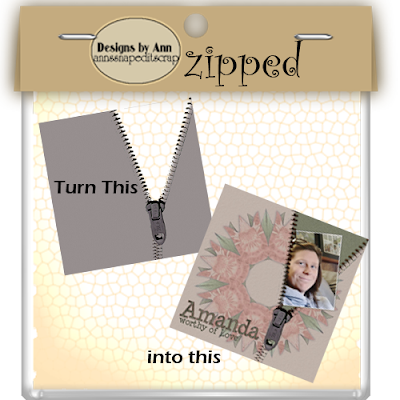
You can get this freebie by clicking HERE
Now if you want to know how I used it keep reading because next is my tutorial.
First of all open the zipped template.
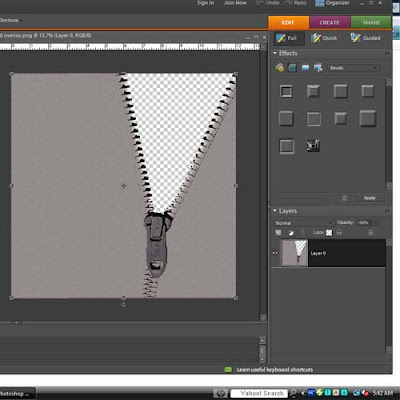
Next you will want to add a patterned paper. You can do this by either opening it up in a seperate document and then dragging it up into your canvas or by going to file > place. Now you want to hit control + G to link the two layers and clip the paper to the template.
5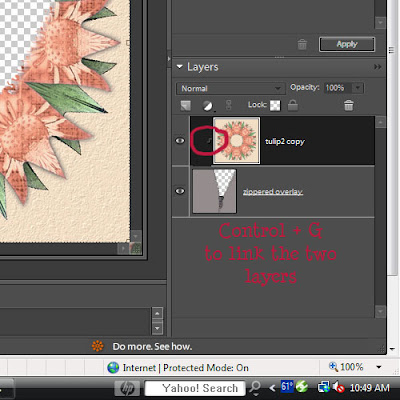
Next play around with the different blending modes until you get a look you like. I used soft light in my example.
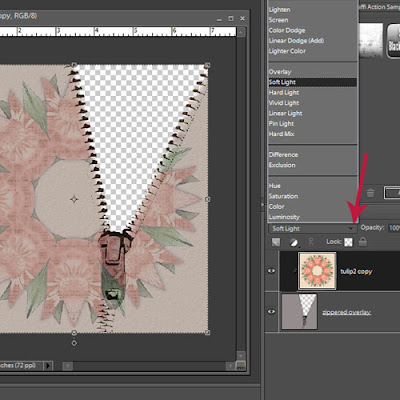
Before merging the two layers, on the top layer (patterned paper) I erased the part over the zipper pull because I really didn't like the way it looked, and I just wanted the gray zipper pull to show.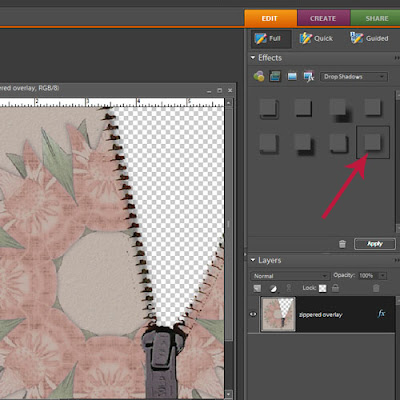
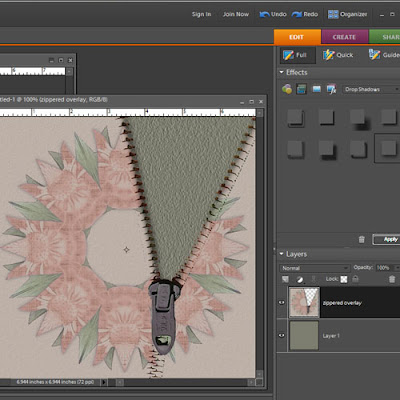
Now you are going to add another paper or solid colored layer and move it below the zipped layer. Here I chose a color from the kaleidoscope and then added texture to it.
Now add a picture. Do any editing you want to the picture now. I simply added a stroke outline to this one in white. I also added a drop shadow to the picture before going any further. Make sure that you have your picture between the other two layers. Position the picture where you want it. Now to load the selection of the picture, while holding down the control key, click on the picture in the layer palette. You'll see the marching ants around your picture. In the screen shot below I have a red arrow pointing to where you should click to make the selection.

Next play around with the different blending modes until you get a look you like. I used soft light in my example.

Before merging the two layers, on the top layer (patterned paper) I erased the part over the zipper pull because I really didn't like the way it looked, and I just wanted the gray zipper pull to show.
Once you are happy with the way it looks you can merge the two layers
Next you will want to add a drop shadow. The red arrow indicates the choice for shadow that I used. When you are happy with the way your drop shadow looks you can simplify the layer.
Next you will want to add a drop shadow. The red arrow indicates the choice for shadow that I used. When you are happy with the way your drop shadow looks you can simplify the layer.

Now you are going to add another paper or solid colored layer and move it below the zipped layer. Here I chose a color from the kaleidoscope and then added texture to it.

Now add a picture. Do any editing you want to the picture now. I simply added a stroke outline to this one in white. I also added a drop shadow to the picture before going any further. Make sure that you have your picture between the other two layers. Position the picture where you want it. Now to load the selection of the picture, while holding down the control key, click on the picture in the layer palette. You'll see the marching ants around your picture. In the screen shot below I have a red arrow pointing to where you should click to make the selection.


5 comments:
Thank you so much for this Freebie. I want to let you know that I posted a link to your blog in Creative Busy Hands Scrapbook Freebies Search List, under the Template(s), Overlay(s), Photo Mask(s) post on May. 03, 2009. Thanks again.
WAY Cool!! Thank you.
I love that zipper template, we need to use that one for an edit.
Thank you! Your blog post will be advertised on the DigiFree Digital Scrapbooking Freebie search engine today (look for timestamp: 06 Jun [LA 07:00pm, NY 09:00pm] - 07 Jun [UK 02:00am, OZ 12:00pm] ).
Post a Comment